Access Cloud Container Instances via Jupyter
The platform integrates Jupyter as a web-based IDE accessible from your browser. Jupyter lets you create and share live code, Notebook, and other documents. This guide describes how to access Cloud Container Instances (CCI) using Jupyter.
Prerequisites
A cloud container instance has been created and in the "Running" state. For detailed steps, see Create Cloud Container Instance.
Instructions
- A built-in Jupyter service is provided when CCI starts; you do not need to install or start Jupyter manually.
- When CCI is in the ”Running” state, the Jupyter development tools are available.
Procedure
- Sign in to the Console. Choose "Product" > "Computing" > "Cloud Container Instance" to open the CCI page.
- Click "Cloud Container Management" to open the CCI list page, then in the upper-right corner of the page, select the AIDC where the instance was created.
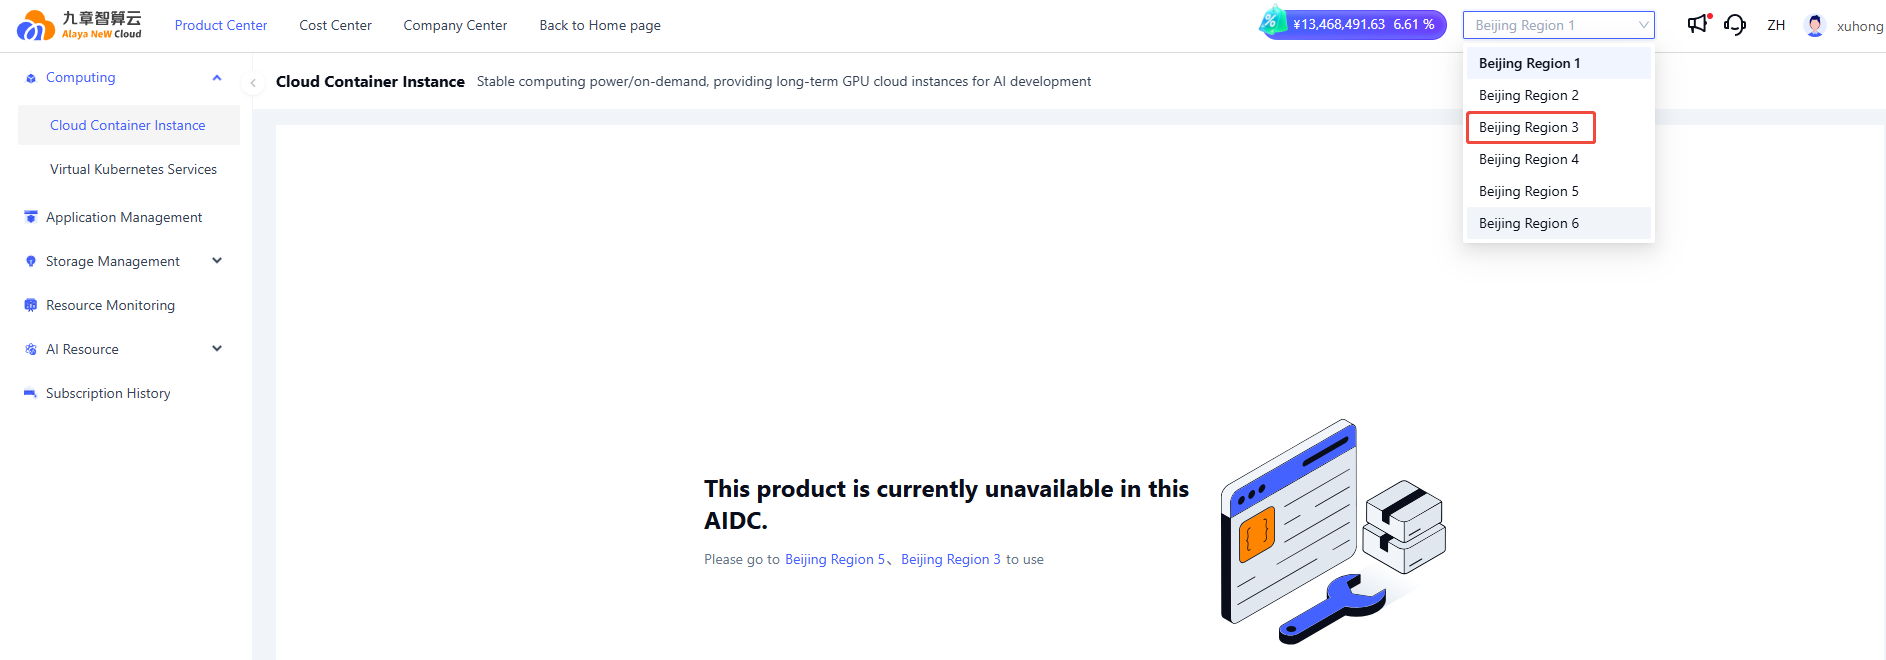
- .On the "Container List" tab, locate the target CCI and click the "Jupyter" icon on the right.

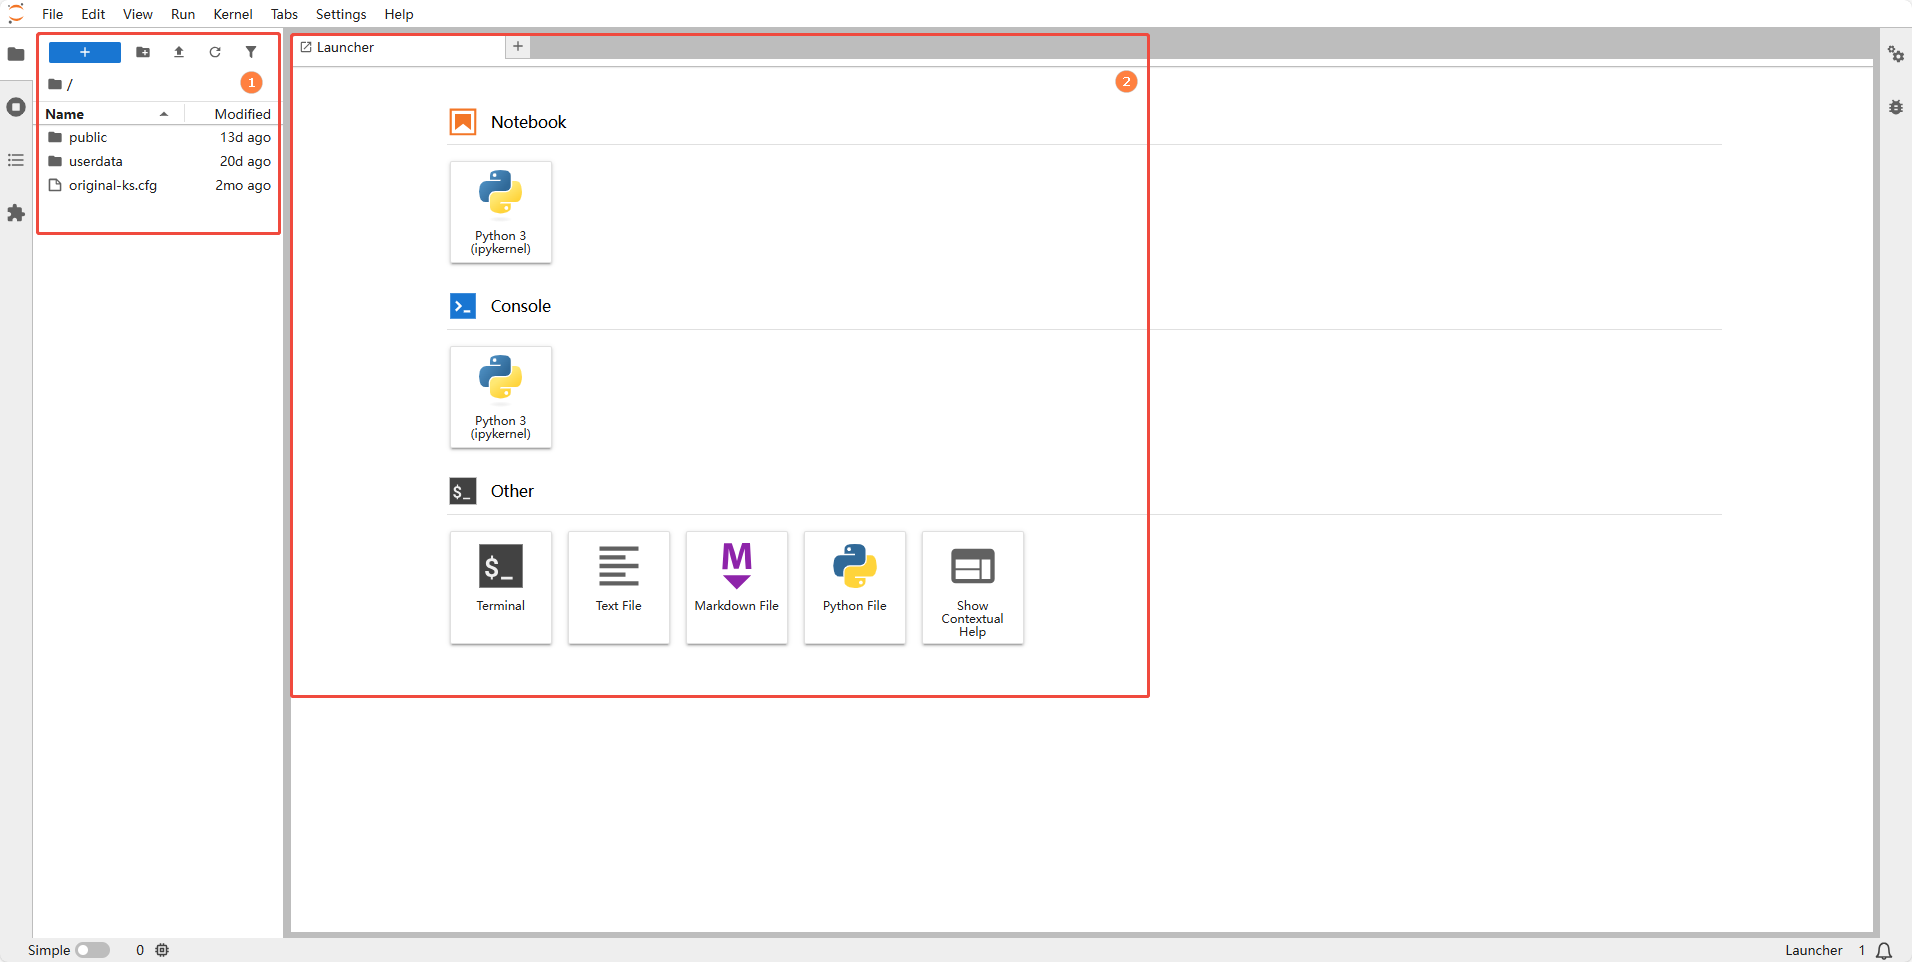
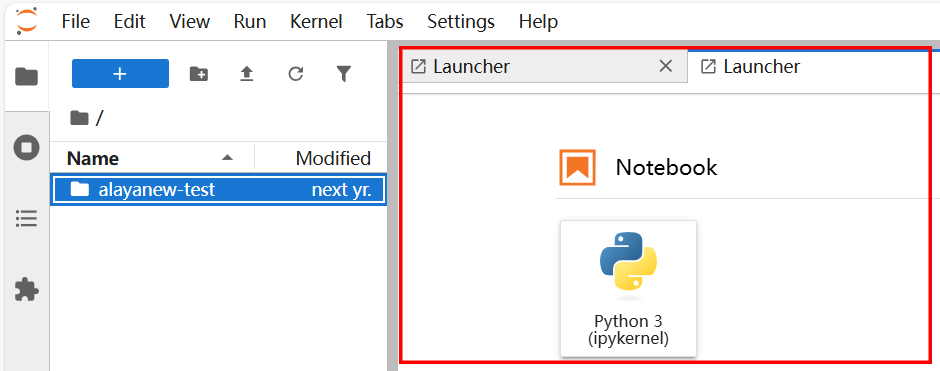
- Enter the Jupyter interface. As shown in the figure below, the left area is the file directory (①) and the right area is the workspace (②). In this interface, you can manage files, open and edit Notebook, and access a terminal.
 note
noteThis Jupyter interface runs inside CCI you are connected to. All operations here have the same effect as performing directly inside the container after logging in.
File Management
-
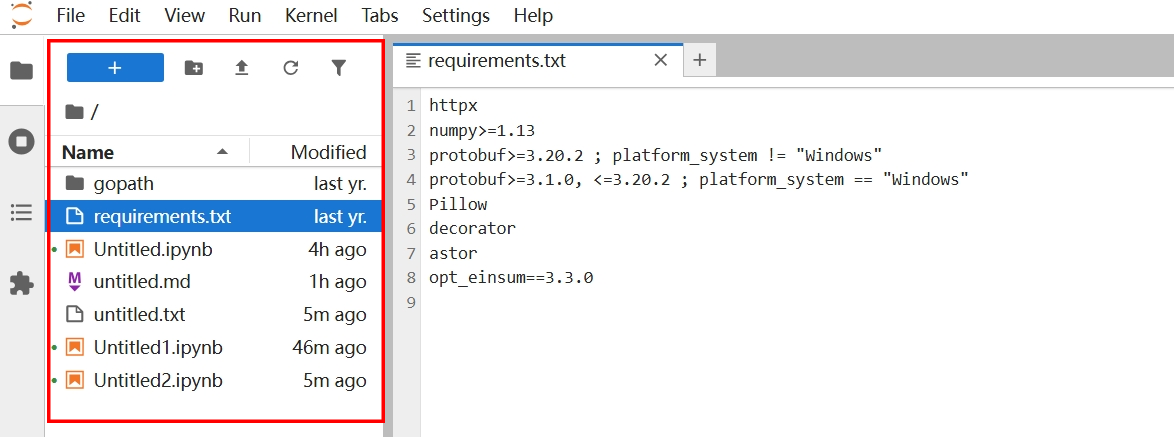
Use the file directory panel on the left to manage your files.
-
Use the icons above the file directory panel to create folders, upload files, and perform other file operations.
Using Notebooks
Click "Notebook" in the right workspace area to open a new editing window.
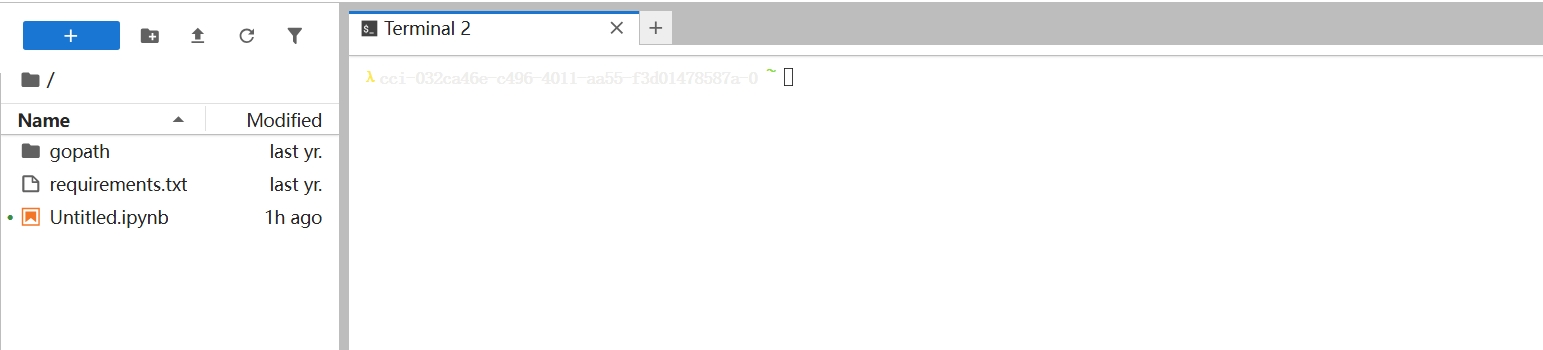
Access Terminal
In the right workspace area, click "Other / Terminal" to open a new terminal.